
How to Quilt in 5 Simple Steps
Many people want to learn how to quilt but feel overwhelmed by the process or unsure where to start. If you’ve ever struggled with choosing materials or figuring out the steps, you’re not alone.
Quilting can seem complicated at first, but breaking it down into simple, manageable steps makes it much easier—and more enjoyable.
To quilt in 5 simple steps, start by choosing cotton fabrics and gathering basic tools like a rotary cutter, ruler, mat, and thread.
Next, cut your pieces, layer the backing, batting, and quilt top, then baste them securely.
Practice a simple stitch on scraps before quilting through all three layers with even, steady lines.
Finally, trim the edges, add binding, and finish neatly.
Keep going, and you’ll pick up plenty of helpful tips along the way.
Key Takeaways
- Choose cotton fabrics, thread, and essential quilting tools that suit your design and sewing method.
- Cut fabric accurately, arrange the pieces, and baste the quilt sandwich of backing, batting, and top.
- Practice a simple stitch on scraps to build control, even spacing, and confidence.
- Quilt through all layers with steady, even stitches while monitoring tension and keeping sections manageable.
- Trim the edges, add binding, and finish with a label and proper care for lasting results.
Choose Fabrics and Quilt Supplies
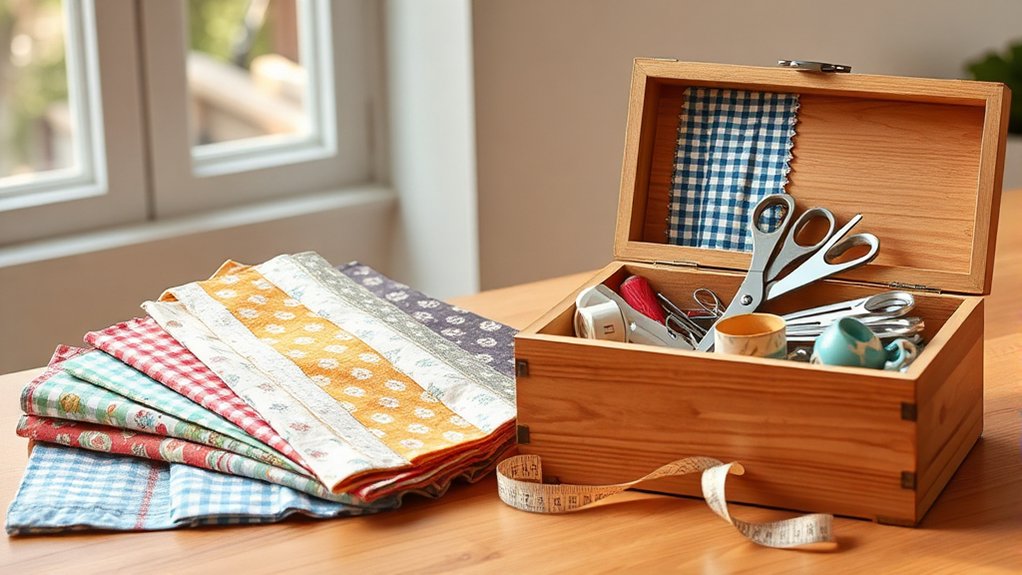
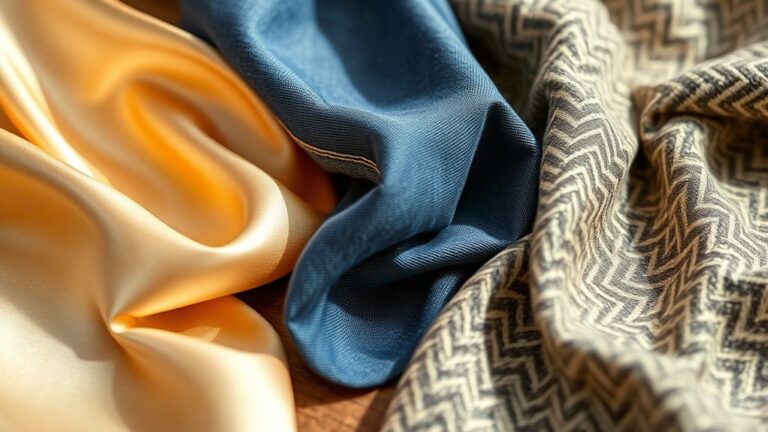
Before you cut a single square, choose fabrics that suit your design and a few reliable quilt supplies to keep the process smooth. You’ll make better choices when you compare fabric types by weight, weave, and color. Start with cotton if you want easy handling and a crisp finish, or blend in prints, solids, and textures to build contrast. Keep your palette balanced so the quilt feels intentional, not busy.
Next, gather quilting tools that support accuracy: a rotary cutter, self-healing mat, clear ruler, sharp scissors, and marking pen. A seam ripper and pins can save you when mistakes happen. Check that your thread matches the look you want and that your needles fit your machine or handwork style.
When you shop, trust how the materials feel in your hands. Quality fabric and dependable supplies help you work with confidence and enjoy every step ahead.
Cut, Layer, and Baste Your Quilt
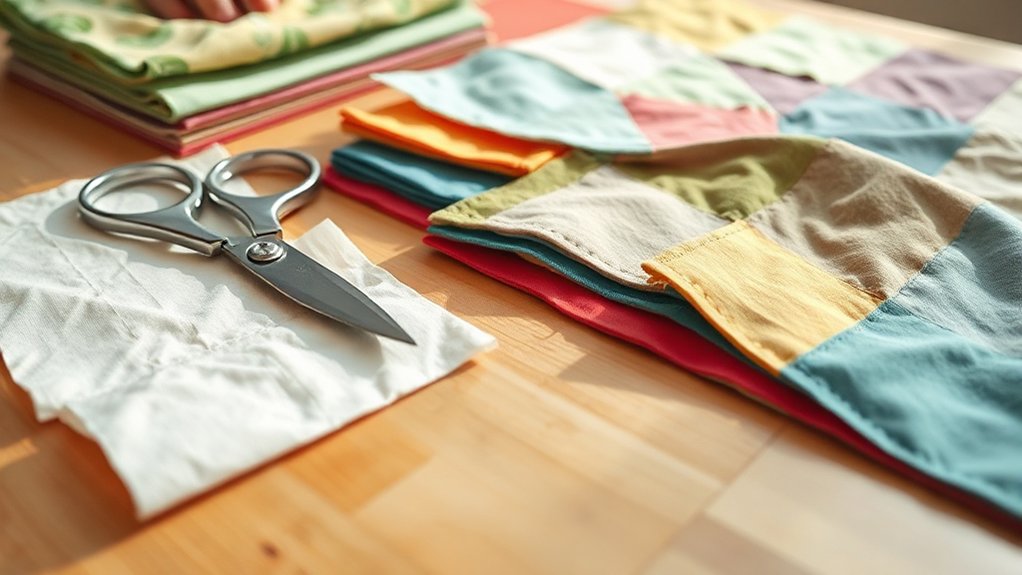
Now cut your fabric with care, keeping your rotary cutter, ruler, and mat steady so each piece stays accurate and consistent. Use smart cutting techniques to keep edges square, angles true, and strips uniform. Clean pieces help your quilt fit together smoothly. After cutting, arrange your pieces on a flat surface and follow your pattern exactly. You’ll want to check color placement, balance, and orientation before you move forward.
Next, build the quilt sandwich. Lay the backing fabric wrong side up, center the batting on top, then place the quilt top right side up. Smooth each layer from the middle outward to remove wrinkles and puckers. These layering methods help you keep the sandwich even and manageable.
Once everything looks aligned, baste the layers with pins, spray, or long hand stitches. Space your basting evenly so the layers stay secure while you work. Take a final look for shifting, then you’re ready for stitching.
Practice a Simple Quilt Stitch
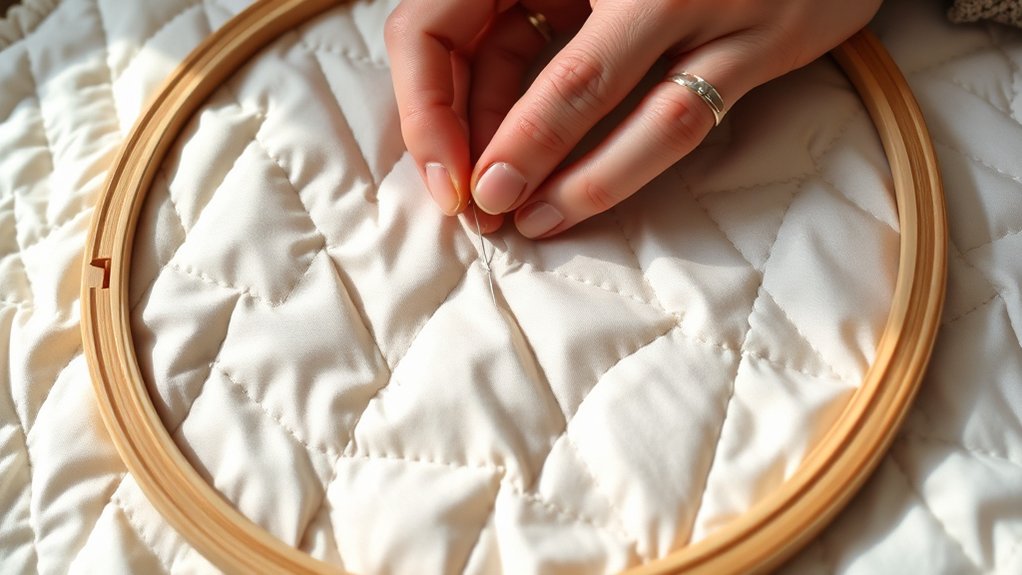
Thread your machine or needle and start with a simple stitch, such as straight-line quilting or basic running stitches, so you can get comfortable with the rhythm. Guide your work slowly and keep your hands relaxed.
As you practice, focus on steady spacing and even pressure rather than speed. Try a few stitch techniques on scrap fabric first so you can see how each one looks and feels.
Different fabric types may behave differently, so test cotton, linen, or blends to learn how they respond under your needle. Keep your line clean by following marked guides or seams, and stop often to check your progress.
If your stitches wander a little, adjust your pace and continue. The goal isn’t perfection right away; it’s building control and confidence. With repetition, you’ll develop a smoother motion and a better feel for the stitch.
Quilt Your Layers With Even Stitches
Begin quilting the layered fabric by stitching through all three layers with steady, even motions. You can guide the quilt slowly, keeping your hands relaxed so each stitch stays the same length. Focus on stitch consistency by watching the line you’re creating and adjusting your speed when needed.
Begin quilting with steady, even motions, guiding the fabric slowly so each stitch stays consistent.
If you notice wavering stitches, pause and realign the fabric before continuing. Keep thread tension balanced, because too much pull can pucker the surface, while too little can leave loose loops on top or underneath.
Work in short sections so you can maintain control and accuracy. Let the machine or needle move at a pace you can manage without forcing it.
As you quilt, check the back occasionally to confirm the stitches look even and secure. Smooth the layers with your free hand to prevent bunching, and keep following the marked path.
With patience and practice, you’ll build neat quilting lines that hold your project together beautifully.
Bind and Finish Your First Quilt
Trim away any excess batting and backing so the quilt edges are even, then attach binding strips to encase the raw edges. You can use binding techniques like double-fold or bias binding, depending on the look you want and the curve of your quilt.
Join the strips neatly, press the folds, and stitch the binding to the front first, then hand-stitch or machine-finish the back for a clean edge. Add your finishing touches by checking corners, smoothing seams, and clipping stray threads.
If you’d like, sew on creative labels with your name, the date, and a short note about the project. Once your quilt is complete, follow simple quilt care steps: wash it gently, use mild detergent, and dry it on low or air-dry it flat. When you finish carefully, your first quilt won’t just look polished; it’ll also hold up well for years.
Frequently Asked Questions
What Quilting Machine Is Best for Beginners?
A good beginner quilting machine is usually a reliable sewing machine with quilting machine brands like Brother, Janome, or Singer. You’ll want sewing machine features such as a wide throat space, adjustable speed, drop-in bobbin, needle up/down, and a walking foot.
These make quilting easier and more accurate. Pick a machine you can thread easily, control comfortably, and grow with as your skills improve and your projects get bigger.
How Do I Care for Handmade Quilts After Washing?
Don’t toss your handmade quilt into the dryer like it’s a gym sock. You should air-dry it flat or tumble on low, then smooth it gently.
Use quilt maintenance tips: wash it sparingly, with mild detergent, and keep it out of direct sun. These fabric care techniques help protect stitching, preserve color, and keep your quilt soft. Store it clean, dry, and folded loosely so it won’t punish itself.
Can I Quilt Without Using Batting?
Yes, you can quilt without batting if you want a thinner, lighter result. You can try quilt alternatives like double-layer fabric, flannel, or a single-layer quilted panel for different texture and drape.
When you skip batting, focus on strong fabric layering and close stitching so your pieces still hold together well. You’ll get less loft, but you’ll still make a cozy, functional quilt with style.
What Thread Colors Work Best for Quilt Tops?
You’ll usually match thread to the quilt top, like a chameleon blending in at a fabric market. For calm color theory, choose a thread one shade lighter or darker than your fabric; it’ll hide stitches better.
Neutral grays, creams, and taupes often work across many tops, while bold thread types like variegated cotton add texture and sparkle. Test a few strands on scraps first so you can see what disappears best.
How Long Does It Take to Finish a Quilt?
You’ll finish a quilt in anywhere from a few hours to several weeks, depending on quilt size and project complexity. If you’re making a small lap quilt with simple piecing, you might wrap it up fast.
Larger quilts, detailed patterns, and hand quilting take longer. You can speed things up with pre-cut fabric and machine stitching, but careful basting and binding still add time.
Conclusion
As you stitch the final seam, you might notice how everything seems to line up just right. The soft fabric, the steady rhythm of your hands, and the quiet pride settling in your chest.
You’ve chosen your materials, layered them with care, and stitched each line with growing confidence. Now your first quilt is bound, finished, and ready to warm someone’s day.
Isn’t it amazing how a few simple steps can create something so lasting? Quilting in 5 simple steps really shows how accessible and rewarding this craft can be.