
How Do You Draw Fabrics in 5 Easy Steps?
Struggling to capture the delicate look of fabrics in your drawings? You’re not alone. Many artists find it challenging to portray the texture, flow, and depth of fabric realistically. Whether it’s the folds, creases, or how light plays on the surface, mastering fabric drawing can feel overwhelming at first.
To draw fabrics in five easy steps, start by understanding different textures and how dyes affect light and surface. Next, carefully observe how folds and creases form naturally with movement and gravity. Then, sketch the fabric’s overall shape and flow using smooth, sweeping lines.
Add texture and subtle color changes to capture light interaction. Finally, refine shadows and highlights to create depth and realism. Keep exploring, and you’ll soon master even the most complex fabric details.
Key Takeaways
- Observe fabric folds and creases, noting how gravity and tension shape natural bunching and stretching. This helps you understand how fabric behaves in different positions.
- Sketch the overall fabric shape and flow using smooth, curved lines. This way, you can capture the movement and drape more naturally.
- Add texture by applying fine strokes or dots that mimic the fabric’s surface and pattern along contours. It makes your drawing feel more realistic.
- Use shadows and highlights strategically to emphasize depth, folds, and how light interacts with the fabric. This adds dimension to your work.
- Incorporate subtle color variations and tonal layering to enhance realism and create a three-dimensional appearance. It really brings the fabric to life.
Get to Know Different Fabrics and Their Textures for Drawing

How do you capture the unique feel of different fabrics when drawing? Start by getting to know the textures and characteristics that set each fabric apart. Understanding fabric dyeing techniques can help you recognize how colors and patterns interact with the material’s surface.
Begin by exploring fabric textures and dyeing methods to capture their unique visual qualities in your drawings.
For example, hand-dyed silk has vibrant, flowing hues, whereas denim’s indigo dye creates a rougher, matte texture. Delving into textile history also gives you insight into traditional fabrics like linen or wool, revealing their typical weaves and finishes.
This knowledge helps you anticipate how light and shadow behave on these surfaces. When you grasp these details, you’ll draw fabrics more realistically, reflecting their unique qualities.
Spend time examining fabric samples or photos, noting how textures differ—smooth satin, coarse burlap, or soft cotton. This foundation lets you bring authenticity and life to your fabric sketches, making your drawings more convincing and expressive.
Observe How Fabric Folds and Creases Form in Your Sketches
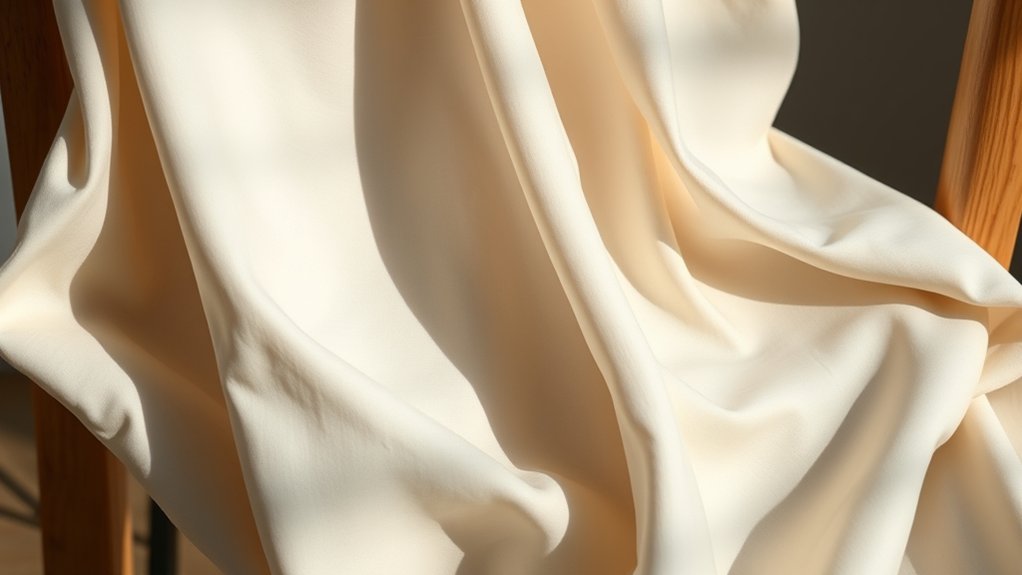
Understanding fabric textures sets a solid foundation, but capturing the way fabrics fold and crease breathes life into your drawings. When you observe fabric folds closely, you connect not only with its physical form but also with its fabric history and textile symbolism, which influence how cloth behaves.
To get started, focus on these key points:
- Notice where the fabric naturally bunches or stretches, as these areas create distinct creases and tension lines.
- Study how gravity and movement affect the shape and depth of folds, reflecting the fabric’s weight and weave.
- Pay attention to light and shadow around creases to emphasize dimensionality and texture.
Draw Fabric Shapes and Flow to Capture Movement
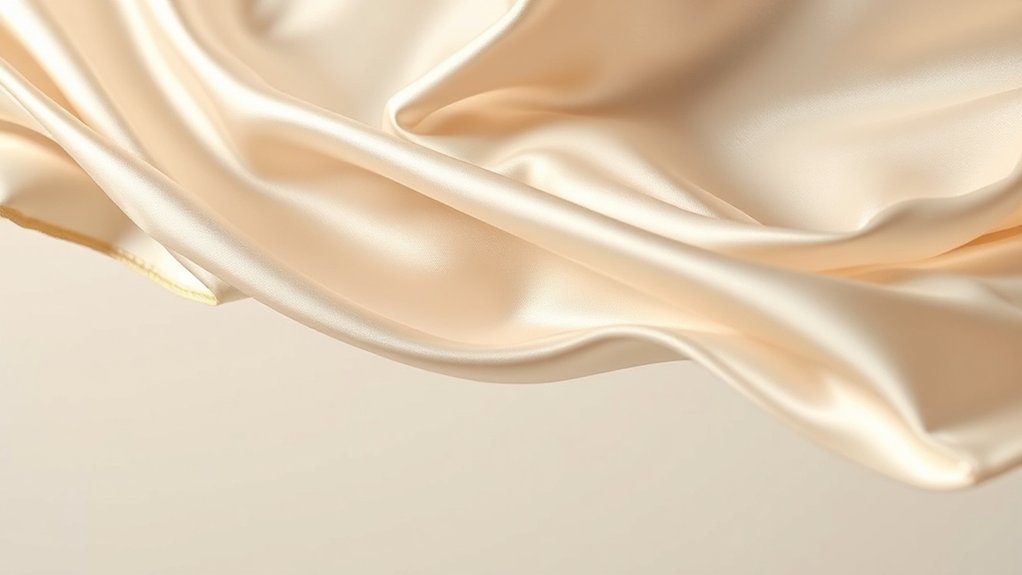
Though fabric may seem static on the page, you can bring it to life by focusing on its shapes and flow. Start by sketching the overall silhouette of the fabric as it drapes or moves. Pay attention to how folds curve and stretch, creating dynamic lines that suggest motion.
Use sweeping strokes to capture the fabric’s natural rhythm rather than rigid, straight lines.
When you add fabric color, think about how it interacts with the flow. Lighter areas may indicate stretched or raised parts, while darker hues reveal deeper folds.
Textile patterns also play a key role; they should follow the fabric’s contours to reinforce the sense of movement. Avoid drawing patterns flatly. Instead, let them bend and warp with the fabric’s curves.
Add Texture and Light Details to Bring Fabrics to Life
Once you capture the fabric’s shape and flow, adding texture and light details will make it feel tangible and realistic. Pay attention to fabric patterns and subtle color variations that define the material’s character.
To bring fabrics to life, you can:
- Use fine strokes or dots to mimic the texture of the fabric, whether it’s smooth silk, rough burlap, or soft cotton. These small marks create depth and tactile quality.
- Introduce color variations within the folds and flat areas to indicate how light interacts with the surface, enhancing dimensionality without overdoing it.
- Highlight fabric patterns carefully by following the contours of the folds, ensuring they bend naturally with the fabric’s movement.
These steps add visual interest and realism without overwhelming your drawing. By focusing on texture and subtle light details, your fabrics will look more convincing and vibrant, ready for the final touches in your artwork.
Refine Shadows and Highlights for Realistic Fabric Drawing
As you refine shadows and highlights, you’ll improve the fabric’s volume and realism by emphasizing how light interacts with its surface. Start by deepening shadow depth in areas where the fabric folds or overlaps, creating a natural contrast that defines its shape.
Use smooth color blending to gradually transition between dark shadows and lighter areas, avoiding harsh lines unless the fabric is very stiff. Highlights should be carefully placed where light hits directly, enhancing the fabric’s texture and suggesting its material, whether silky, rough, or matte.
Pay attention to subtle variations; not all highlights are pure white, and shadows often carry hints of surrounding colors. By gradually building up these tonal shifts through layered color blending, you’ll make the fabric appear three-dimensional and tactile.
Frequently Asked Questions
What Tools Are Best for Drawing Fabrics?
You’ll want to use pencils for sketching fabric patterns and shading folds, while fine liners help define edges and details. Don’t forget your blending tools, like tortillons or blending stumps, to create smooth texture techniques.
Colored pencils or markers bring vibrant fabric patterns to life. If you’re digital, brushes that mimic fabric textures are perfect. These tools let you capture the depth and flow of fabric realistically, making your drawings pop.
How Do I Choose Colors for Different Fabrics?
Don’t worry if you think color choices for fabrics are overwhelming. You can rely on color theory to guide you. Start with a color wheel to find complementary or analogous colors that suit the fabric’s mood.
Consider fabric texture too. Shiny silk reflects light differently than matte cotton, affecting how colors appear. So, choose colors that accentuate the texture’s natural highlights and shadows, making your fabric look more realistic and vibrant.
Can Digital Drawing Techniques Be Used for Fabrics?
Yes, you can definitely use digital drawing techniques for fabrics. You’ll find that tools like layering, brushes, and blending modes help create textural depth effectively.
How Long Does It Take to Master Fabric Drawing?
It typically takes around 10,000 hours to master fabric drawing, a skill demanding patience. You’ll focus on capturing fabric texture and achieving material realism, which means studying how light interacts with different cloth types.
Are There Specific Artists to Study for Fabric Drawing Inspiration?
Yes, you should study artists like John Singer Sargent and Leonardo da Vinci for textural realism, especially in fabric textures. They capture folds and light with incredible detail, helping you understand how fabric behaves.
Contemporary artists like Alphonse Mucha also offer great inspiration with stylized fabric flows. By analyzing their work, you’ll improve your ability to depict fabric textures convincingly and add depth to your drawings.
Conclusion
Now that you know how to see and feel each fabric’s unique dance, let your pencil glide like silk over the page. Picture folds folding gently, shadows dipping softly, and highlights sparkling like morning dew.
With every stroke, you’ll capture the fabric’s story, its flow, texture, and light, turning your sketches into lively, breathing art. Keep practicing, and watch your drawings come alive, wrapping your paper in the magic of real cloth.
By mastering these techniques, you’ll truly understand how to draw fabrics in 5 easy steps and bring your art to life.