
How to Sew Two Fabrics Together in 5 Simple Steps
If you’ve ever tried to sew two fabrics together, you know it can be tricky to get a clean, strong seam. You’re not alone—many people struggle with uneven stitches, puckering, or fraying edges that ruin their projects. Whether you’re a beginner or just looking to improve your skills, mastering this basic technique is key to creating polished, professional-looking results.
To sew two fabrics together, first gather and prepare your fabric by washing, ironing, and marking seam allowances. Choose the right stitch: straight for cotton or zigzag for stretch fabrics, and adjust tension for neat seams. Pin the fabrics with pins placed perpendicular and spaced evenly.
Sew steadily along the seam allowance, starting with a backstitch to lock stitches. Finally, finish your seams to prevent fraying and strengthen the join. Keep going to uncover tips for smooth, professional results.
Key Takeaways
- Prepare and align fabrics with right sides facing, pinning them securely along the seam line.
- Select the appropriate stitch type and length based on fabric weight and stretchiness.
- Pin fabrics perpendicular to the seam line, spacing pins evenly to maintain smooth alignment.
- Sew steadily along the marked seam allowance, backstitching at start and end to secure seams.
- Finish seams by trimming edges and using zigzag or overlock stitches to prevent fraying.
Gather Materials and Prepare Your Fabric

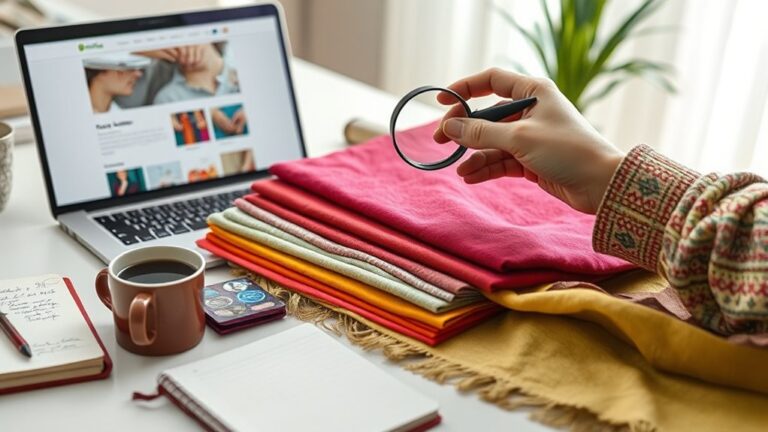
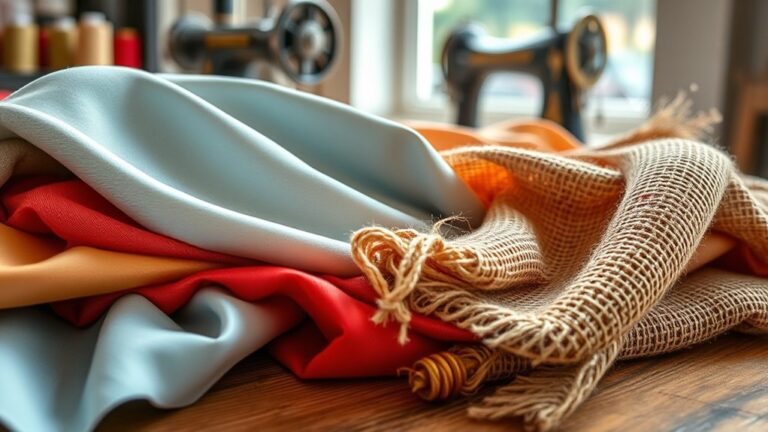
Before you begin sewing, gather all the materials you’ll need and prepare your fabric carefully. Start by selecting the right fabric types for your project, as different fabrics behave distinctively when stitched together. For example, cotton is stable and easy to handle, while knits stretch and require more attention.
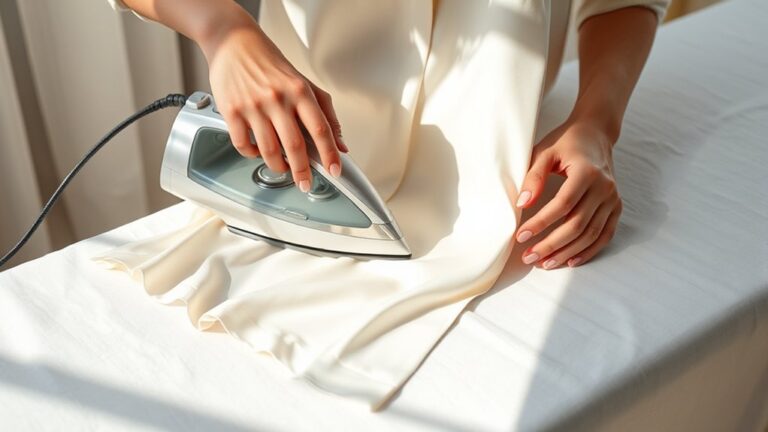
Once you have your fabrics, wash and iron them to prevent shrinking and wrinkles that can affect your seams. Next, measure and mark your seam allowances clearly on both fabrics. Seam allowances are essential because they give you space to sew without compromising the fabric’s edge, ensuring a clean, durable join.
Most patterns recommend a ⅝-inch seam allowance, but adjust this based on your fabric’s thickness and project requirements. Finally, align the fabrics with their right sides facing each other and pin them securely. Taking these steps will set you up for a smooth sewing process when joining two fabrics together.
Choose the Best Stitch for Your Fabric and Project

With your fabrics prepped and pinned, the next step is picking the right stitch to join them effectively. Consider the fabric type first. Lightweight fabrics like cotton work well with a straight stitch, while stretch fabrics may need a zigzag stitch to allow flexibility.
Adjust your stitch tension to avoid puckering or loose seams, making sure the fabric lies flat. Don’t forget the seam allowance. Typically, a ⅝-inch allowance is standard, but check your pattern or project needs.
A wider seam allowance can offer more room for adjustments, while a narrow one is good for delicate fabrics. Match your stitch length to the fabric too. A shorter stitch suits finer fabrics, and a longer stitch works for heavier materials.
Pin the Fabrics in Place Correctly

Although choosing the right stitch is essential, securing your fabrics properly with pins guarantees they stay aligned while you sew. Proper fabric alignment is key to achieving neat, even seams. Using the right pinning techniques helps prevent shifting and puckering.
Securing fabrics with pins ensures perfect alignment, preventing shifting and puckering for neat, even seams.
Follow these tips to pin the fabrics in place correctly:
- Place pins perpendicular to the seam line. This keeps fabrics stable and makes it easier to remove pins as you sew.
- Pin from the edges toward the center. Start at fabric edges and work inward to maintain smooth alignment and avoid bunching.
- Space pins evenly, about 2-3 inches apart. Even spacing holds the fabric firmly without causing distortion.
Sew Fabrics Together Step-by-Step
Once your fabrics are pinned securely, you can start sewing them together by guiding the material steadily through your machine, keeping the seam allowance consistent. Begin at one edge, sewing in a straight line while maintaining the seam allowance you marked earlier, usually between 1/4 to 5/8 inch depending on your project.
Different fabric types require gentle handling. For example, slippery fabrics like silk need slower stitching to avoid shifting, while thicker fabrics like denim demand a strong needle and steady pressure.
Keep your fingers clear of the needle and use the presser foot to hold the fabric firmly. If your fabric has a nap or pattern, sew in a direction that preserves its look.
Stop sewing a few stitches before the end, backstitch to lock the seam, and then cut the threads. By following these steps carefully, you’ll create a neat, durable seam tailored to your fabric types and seam allowances.
Finish Seams to Secure and Strengthen Your Join
To guarantee your seams last and don’t unravel, you need to finish them properly. Seam finishing strengthens your join and protects the seam allowances from fraying. By securing those raw edges, your project remains durable and neat.
Finishing seams properly prevents unraveling and fraying, keeping your project durable and neat.
Here are three effective seam finishing methods you can try:
- Zigzag Stitch: Sew along the edge of the seam allowances with a zigzag stitch to prevent fraying. It’s quick and works well for most fabrics.
- Pinked Edges: Use pinking shears to trim seam allowances. The zigzag cut reduces fraying without extra stitching, which is ideal for lightweight materials.
- Overlocking (Serger): If you have a serger, finish your seam allowances with it. This machine trims and encloses edges in thread, providing a professional look and extra strength.
Choose a method that suits your fabric and project. Proper seam finishing ensures your sewn fabrics stay strong and look polished.
Frequently Asked Questions
Can I Use a Sewing Machine for All Fabric Types?
You can use a sewing machine for most fabric types, but some delicate or stretchy fabrics might need special needles or settings. If your machine struggles, try fabric adhesive as a temporary fix.
When seams don’t line up, a seam ripper helps you fix mistakes without damaging the fabric. Always test on a scrap piece first, so you avoid ruining your project. Adjust tension and stitch length for the best results.
How Do I Fix Uneven Stitches After Sewing?
To fix uneven stitches, first check your thread tension. It’s often the culprit. Loosen or tighten it gradually while testing on scrap fabric until stitches look balanced.
If stitches are still uneven, try resewing the seam with consistent speed and pressure. Don’t forget seam reinforcement at stress points to prevent unraveling.
Using the proper thread and needle for your fabric also helps maintain even stitches and a strong, neat finish.
What Thread Type Is Best for Outdoor Fabrics?
You’ll want to choose polyester or nylon thread for outdoor fabrics because they offer excellent thread durability and resist UV rays and moisture. These threads hold up well under harsh weather conditions, ensuring your seams stay strong.
When caring for outdoor fabric, avoid harsh detergents and excessive heat to maintain both the fabric and thread integrity. Using the right thread helps your project last longer in tough outdoor environments.
Is Hand Sewing Stronger Than Machine Sewing?
Hand stitching is like painting a delicate portrait: precise but time-consuming. It’s not inherently stronger than machine sewing because machine stitches maintain consistent thread tension. This creates uniform strength across the seam.
However, if you control thread tension well with hand stitching, you can achieve strong, durable seams. For heavy-duty or outdoor fabrics, machines generally provide more reliable strength. Still, your careful hand stitching can hold up beautifully with the right technique.
How Do I Prevent Fabric From Puckering?
To prevent fabric from puckering, you need to control fabric tension carefully. Make sure your sewing machine’s tension settings aren’t too tight, or the fabric will gather and pucker.
Also, use an appropriate seam allowance to give yourself enough room for stitching without stressing the fabric edges. Press your seams as you go to keep them flat.
Taking these steps helps you achieve smooth, professional-looking results every time.
Conclusion
Now that you’ve gently united your fabrics, you’ve crafted more than just a seam. You’ve woven a quiet promise of durability and care. Each stitch is a soft handshake between materials, quietly holding your creation together with graceful strength.
By following these simple steps, you’ve not only joined fabrics but also stitched a little story of patience and creativity. Keep practicing, and soon your projects will blossom with even greater finesse and charm. Sewing two fabrics together is a skill that grows with every attempt.