
Thread Weight Guide: How to Choose the Right Thread
Finding the perfect thread weight can feel overwhelming, especially when your stitches keep puckering or breaking. You’re not alone—many people struggle to match thread weight to their fabric and project needs.
But with the right guidance, choosing thread weight becomes much easier and can totally transform your sewing experience.
Choose thread weight by matching it to your fabric, project, and needle size. Lower numbers mean thicker thread, while higher numbers mean finer thread.
Use medium-weight thread for garment sewing, finer thread for quilting piecing, and stronger thread for home décor or decorative seams.
Pair heavier thread with a larger needle and lighter thread with a smaller one.
Test on scraps first to prevent puckering and breakage, and you’ll see how small tweaks improve every stitch.
Key Takeaways
- Thread weight measures thickness: higher numbers are finer, lower numbers are thicker.
- Heavier thread gives bolder stitches. Lighter thread creates smoother, subtler seams.
- Match thread weight to the project: medium for garments, thin for piecing, thicker for decorative or durable work.
- Pair thread weight with the correct needle size to avoid skipped stitches, thread breaks, and tension problems.
- Test on scrap fabric and adjust tension, stitch length, and stabilizers to prevent puckering and improve results.
What Is Thread Weight?
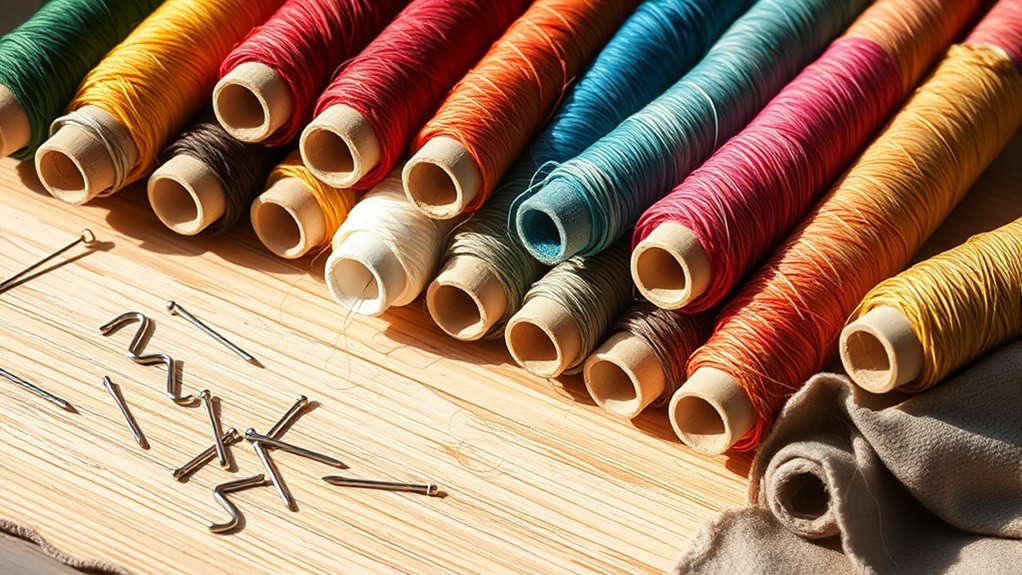
Thread weight tells you how thick or fine a thread is, and it affects both the look and strength of your stitching. You’ll see it listed as a number, usually with two parts, and that number helps you compare thread types at a glance. In general, a higher thread weight means a finer thread, while a lower number points to a thicker one.
Thread weight shows how thick or fine a thread is, shaping both the look and strength of your stitches.
You can use this measure to match the thread to your project’s needs without guessing.
Different thread materials can share the same weight, so weight doesn’t tell you everything. Cotton, polyester, silk, and rayon may all come in similar sizes, but each feels and behaves differently.
When you shop, check the label for both the weight and the material so you know exactly what you’re getting. That way, you can choose thread that suits your fabric, your stitch style, and the finish you want.
How Thread Weight Affects Stitching

The weight of your thread changes how your stitches look and perform. When you use a heavier thread, you get bolder lines, stronger coverage, and a more textured finish. A lighter thread blends in more easily, so your stitching stays subtle and smooth.
You’ll also notice that thread weight can affect thread tension. Thicker thread may need small adjustments so your machine or hand stitches feed evenly. That balance matters because it shapes stitch appearance, especially on visible seams, topstitching, and decorative details.
- Heavy thread stands out and fills space fast.
- Light thread keeps seams neat and less visible.
- Matching thread weight to fabric helps your stitches lie flat.
If you want clean results, test your thread on scrap fabric first. You’ll see how the weight changes stitch size, coverage, and overall finish before you commit to your project.
How to Read Thread Weight Numbers and Labels

Once you know how thread weight changes stitch size and texture, the next step is learning how to read the numbers on the spool. You’ll usually see a thread weight classification like 30wt, 40wt, or 50wt.
In this system, a smaller number means thicker thread, while a larger number means finer thread. That can feel backward at first, so use a quick thread weight conversion check when you compare brands.
| Label | Meaning |
|---|---|
| 30wt | Thick, bold thread |
| 40wt | Medium thread |
| 50wt | Fine, common thread |
| Lower number | Heavier thread |
| Higher number | Lighter thread |
Some spools also list denier, tex, or ply, but you don’t need to memorize every scale. Focus on the number format the manufacturer uses, then compare it with the brand’s chart.
Once you can decode labels fast, you’ll choose thread with confidence and avoid guesswork every time you shop.
Match Thread Weight to Fabric Type
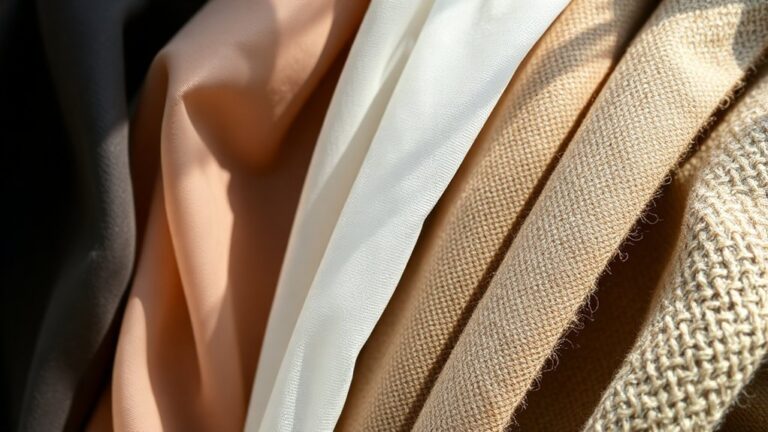
For most projects, you’ll get the best results by matching thread weight to the fabric’s thickness and drape. Light, airy fabrics need finer thread so the stitches don’t overpower the weave. Dense or textured fabrics usually handle heavier thread better. This improves fabric compatibility and helps your seams look balanced from the start.
- Sheer fabrics: choose fine thread so you don’t add bulk or pucker the surface.
- Cotton and linen: use medium thread for clean stitches that blend well with natural fibers.
- Denim, canvas, and upholstery fabric: pick a heavier thread to support stress points and boost thread durability.
When you test thread against your fabric, check how the stitches sit, how the seam bends, and whether the thread disappears or stands out too much. If the fabric feels soft and flexible, stay on the lighter side. If it feels sturdy and thick, move up in weight.
Choose Thread Weight for Garment Sewing
When you sew garments, choose thread weight that matches both the fabric and the job the seam has to do. For most apparel, a medium-weight thread works well because it balances strength, appearance, and flexibility.
Use lighter thread on delicate woven or knit fabrics so seams stay smooth and don’t pucker. Pick heavier thread when you need visible topstitching or extra durability on stress points like hems, pockets, and side seams.
Pay attention to fabric characteristics such as stretch, thickness, drape, and weave, since each one affects how thread sits in the seam. Your sewing techniques matter too. Straight seams, topstitching, serging, and bar tacks each call for different thread choices.
Test thread on scrap fabric before you sew the final garment, and check stitch quality, seam bulk, and finish. If the seam looks bulky or weak, adjust thread weight until it performs cleanly and matches the garment’s needs.
Choose Thread Weight for Quilting
When you’re choosing thread weight for quilting, it helps to know the basics. Lower numbers mean thicker thread, while higher numbers mean finer thread. It’s pretty straightforward once you get the hang of it.
You’ll want to match the thread to your project’s needs. For example, dense quilting, decorative stitching, and piecing might each call for a different weight. Picking the right one makes your stitches look neat, work well, and give the support your quilt needs.
Thread Weight Basics
Thread weight matters because it shapes how your quilt looks, feels, and performs. You’ll see thread weight shown as a number; higher numbers mean thinner thread, while lower numbers mean thicker thread. That simple thread thickness comparison helps you predict stitch visibility and texture.
When you compare thread material types, cotton feels matte and blends well, polyester often adds strength and shine, and blends can balance both traits.
- Thinner thread creates subtler stitches.
- Thicker thread stands out more.
- Material changes the finish and hand.
If you want a calm, classic look, choose a finer weight. If you want bolder stitching, pick a heavier thread. You can judge thread weight quickly once you understand these basics and match the thread to your style.
Quilting Project Needs
For quilting, your project’s purpose should guide your thread weight choice: use finer thread for piecing and detailed quilting, and choose a heavier weight when you want the stitching to become part of the design. You’ll get cleaner seams with lighter thread, while decorative stitching stands out better with a thicker option.
Consider thread durability if your quilt will face frequent washing or heavy use, since stronger thread helps your stitches last. Also check thread compatibility with your fabric, needle, and machine so you avoid tension problems and skipped stitches.
If you’re echo quilting, a balanced medium weight often works well. For bold motifs, select a thread that shows clearly and supports the look you want without overpowering the fabric.
Find the Best Thread for Home Décor
To get the best results for home décor, choose thread that matches both the fabric and the look you want to achieve. For pillows, curtains, and slipcovers, you’ll want thread that feels strong but still blends in or stands out on purpose. Cotton works well on natural fabrics, while polyester handles daily wear better.
If you’re sewing visible seams or accents, decorative threads can add sheen, texture, or a polished finish. Pay attention to fabric blends, too, because mixed fibers may need a thread that balances flexibility and durability.
- Match thread color to the room’s style.
- Choose a finish that complements the fabric.
- Pick strength that suits the project’s use.
When you test a small seam first, you’ll see how the thread looks under light and against the textile. That simple step helps you avoid mismatched results and keeps your décor looking intentional.
Pair Thread Weight With Needle Size
You need to match your needle size to your thread weight so your stitches come out clean and your machine runs smoothly. Basically, a thicker thread usually calls for a bigger needle eye. On the other hand, finer thread works better with a smaller needle.
When you pair them the right way, you’ll notice fewer thread breaks and more even stitching. It just makes the whole sewing process a lot easier and your finished work looks neater too.
Needle Size Basics
Needle size and thread weight need to work as a pair, because the wrong combination can cause skipped stitches, puckering, or thread breakage. You should start by checking the needle’s size chart and the thread’s thickness. Bigger needles usually suit heavier thread, while smaller needles work better with fine thread.
Different needle types also matter, since sharp, ballpoint, and topstitch needles handle fabric and thread materials differently.
- Choose a larger needle for thick decorative thread.
- Use a smaller needle for lightweight, delicate thread.
- Match the needle eye to the thread so it passes through smoothly.
If you feel resistance while sewing, adjust the needle before you keep going. A simple size check now can save you from damaged seams later.
Matching Thread And Needle
A proper stitch starts when thread weight and needle size match cleanly. You should pair heavier thread with a larger needle eye, and lighter thread with a finer needle, so the thread passes smoothly without fraying.
When you compare thread types, check whether cotton, polyester, or specialty fibers need more clearance or a sharper point. You’ll also want to evaluate needle materials, since polished steel and coated options glide differently and affect drag.
Test your setup on scraps first: if the machine skips, puckers, or leaves lint, adjust the needle up or down one size. Keep the thread feeding evenly, and don’t force a mismatch. Good pairing improves tension, protects your fabric, and helps every stitch look cleaner and stronger.
Prevent Puckering and Thread Breakage
Even the right thread weight can cause trouble if your tension, needle size, or fabric match is off. To keep seams smooth, test on scraps before you sew your final piece. You’ll catch puckering early and can adjust your setup before damage spreads.
Test on scraps first to catch puckering early and fine-tune tension, needle, and fabric before sewing your final piece.
Focus on puckering prevention by supporting delicate fabric with a stabilizer, easing presser-foot pressure, and guiding the cloth without pulling it. For breakage solutions, inspect the thread path for snags, replace a worn needle, and choose a quality thread that suits your project’s demands.
- Use a fresh needle.
- Check for rough spots in the machine path.
- Stitch a sample and watch the seam.
If you hear popping or see loops, stop and fix the issue right away. Small changes now save time, protect your fabric, and help every stitch lie flat and strong.
Choose Thread Weight for Machine Settings
When you choose thread weight for your machine, you’ll want to make sure your needle and tension settings match up so the thread feeds smoothly. It’s a bit like making sure all the parts work together nicely.
You’ll probably also need to tweak the stitch length a bit, especially since heavier thread usually needs a slightly longer stitch. These little adjustments can really make a difference.
They help you get clean, even results without putting extra stress on your fabric. It’s all about finding the right balance for the best finish.
Needle And Tension Settings
Needle size and tension should match the thread weight you’re using, because the wrong setup can cause skipped stitches, puckering, or thread breaks. Check needle compatibility first: thicker threads need larger eyes, while fine threads run best through smaller needles that still let the thread pass smoothly. Then make a careful tension adjustment so the stitch locks cleanly without pulling the fabric too tight.
- Use a fresh needle suited to the thread.
- Test on scraps before sewing your project.
- Fine-tune tension until stitches look balanced on both sides.
If you hear popping or see loops, stop and reset the machine before continuing. Matching these settings to thread weight helps you sew cleaner seams and avoid frustration.
Stitch Length Adjustments
Once you’ve matched your needle and tension to the thread weight, adjust stitch length so the seam suits both the thread and the fabric. Use shorter stitches with fine thread when you need tight control, clean topstitching, or stronger seam integrity.
For heavier thread, lengthen the stitch to prevent crowding and let the thread lie smoothly. Watch stitch density closely: too many stitches in a small space can pucker fabric, while too few can weaken the seam.
Make small tension adjustments if the thread sits high, sinks, or loops. Test on scraps first, then refine until the seam looks balanced from both sides. Your goal is smooth penetration, even texture, and a finish that matches the fabric’s drape and the thread’s thickness.
Frequently Asked Questions
Which Thread Materials Work Best for Outdoor Projects?
You’ll get the best results with polyester, nylon, or bonded nylon for outdoor projects. These threads offer strong UV resistance, solid weather durability, and high tensile strength, so they hold up in sun and stress.
Choose polyester if you want better colorfast options and moisture wicking. Pick bonded nylon when you need extra abrasion resistance.
Avoid cotton outdoors, since it can weaken, absorb moisture, and fade faster over time.
How Should Thread Be Stored to Prevent Damage?
Keep your thread in cool, dry, dark places to prevent damage. You’ll protect it like a keeper guarding a treasure chest by using thread storage containers that seal out dust, light, and moisture.
Wrap spools neatly, avoid heat and direct sun, and label them for easy access. With these thread organization tips, you’ll stop tangles, fading, and brittle fibers before they start, keeping every spool ready for your next project.
Can Thread Weight Affect Embroidery Design Details?
Yes, thread weight can affect embroidery design details. You’ll notice finer thread shows sharper stitch definition, especially in small lettering and intricate outlines.
Thicker thread can soften tiny details and fill space faster, which may change the design’s look. You should also adjust thread tension, since heavier or lighter thread behaves differently in the needle.
Test a sample first, so you can keep your embroidery crisp and balanced every time.
What Thread Works Best for Hand Sewing Repairs?
Cotton-polyester all-purpose thread usually works best for hand sewing repairs because you can use it on most fabrics without fuss. You’ll want to match your thread types to the garment: polyester for strength, cotton for natural fibers, and heavier upholstery thread for tough fixes.
For good repair techniques, choose a sharp hand needle, double your thread for extra hold, and make small, even stitches so your mends stay neat and durable.
How Do I Test Thread Quality Before Buying?
You can test thread quality by pulling a strand between your fingers and watching for smooth, even movement, like silk sliding through a needle’s eye. Check thread texture for fuzz, knots, or rough spots. Then tug gently to judge thread durability without snapping or stretching too much.
Rub it lightly against fabric and see if it leaves lint. Choose thread that feels sturdy, looks consistent, and sews cleanly.
Conclusion
Now that you know how thread weight changes every stitch, you’re ready to choose with confidence. But there’s one last detail that can make or break your project.
Match your thread to your fabric, needle, and machine settings, and you’ll avoid puckering, breakage, and frustration. The right thread doesn’t just hold your seams together; it transforms the finish.
So before you sew your next line, pause, test, and let the thread reveal its secret. Choosing the right thread weight guide will help you get the perfect result every time.