How to Wash Fabric Before Sewing in 5 Steps
If you’ve ever started a sewing project only to find your fabric has shrunk or lost its shape after the first wash, you’re not alone. Many people struggle with preparing fabric properly before sewing, which can lead to frustrating results and wasted time.
Fortunately, learning how to wash fabric before sewing can save your project from these common pitfalls and ensure your finished piece looks professional and lasts longer.
Before you sew, choose the right wash method for your fabric: machine wash cotton and linen, but hand wash or dry clean silk, wool, and rayon.
Prewash the yardage to remove sizing and shrinkage risk, then dry it flat or hang it without stretching. Press it gently while slightly damp.
Check for shrinkage and color changes, then trim, smooth, and align the fabric before cutting so your project starts off right and stays that way.
Key Takeaways
- Check the fabric fiber and care label to choose the safest wash method and detergent.
- Prewash the fabric before cutting to remove shrinkage and any sizing or residue.
- Use gentle washing, mesh bags, and mild agitation for delicate fabrics.
- Dry and press the fabric carefully without stretching, distortion, or heat damage.
- Measure for shrinkage, check colorfastness, and straighten the fabric before cutting.
Choose the Best Wash Method for Your Fabric
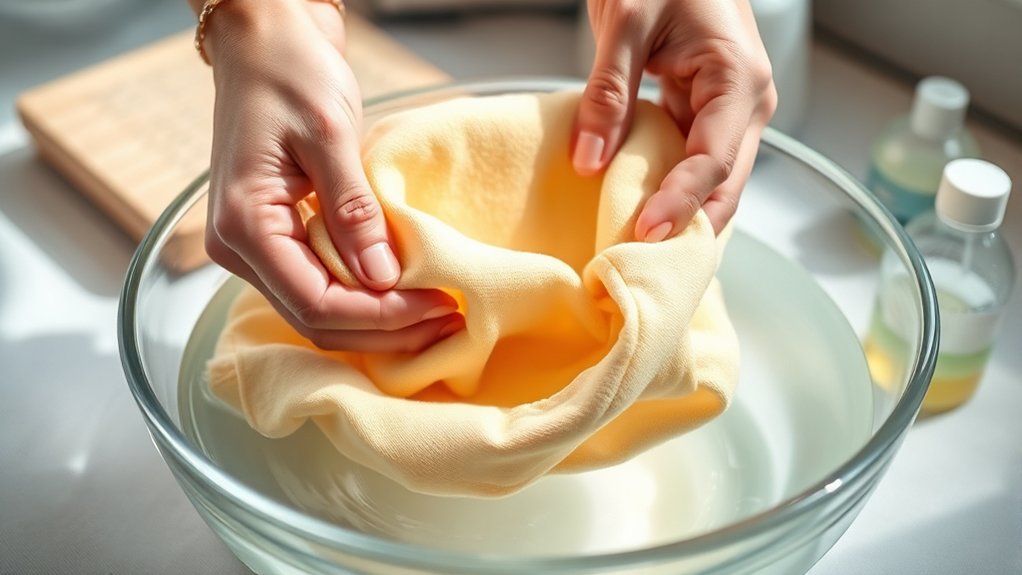
Before you wash any fabric, match the method to the material. Check the fiber content, weave, and finish so you don’t damage the cloth. Cotton, linen, and many blends usually handle a warm machine wash, while silk, wool, and rayon often need gentler hand washing or dry cleaning.
If the label says cold water only, follow it. For sturdy fabrics, a normal cycle may work; for delicate fabrics, choose a mesh bag and mild agitation. Use a detergent made for delicates when needed, and skip harsh bleach unless the care instructions allow it.
These fabric care choices deliver real pre-wash benefits: they can prevent shrinking, reduce color loss, and soften sizing or finishes that might affect sewing. Test a small swatch first if you’re unsure, especially with bold dyes or special coatings. When you choose the right method, you protect the fabric and set yourself up for better results.
Wash the Fabric Before Cutting

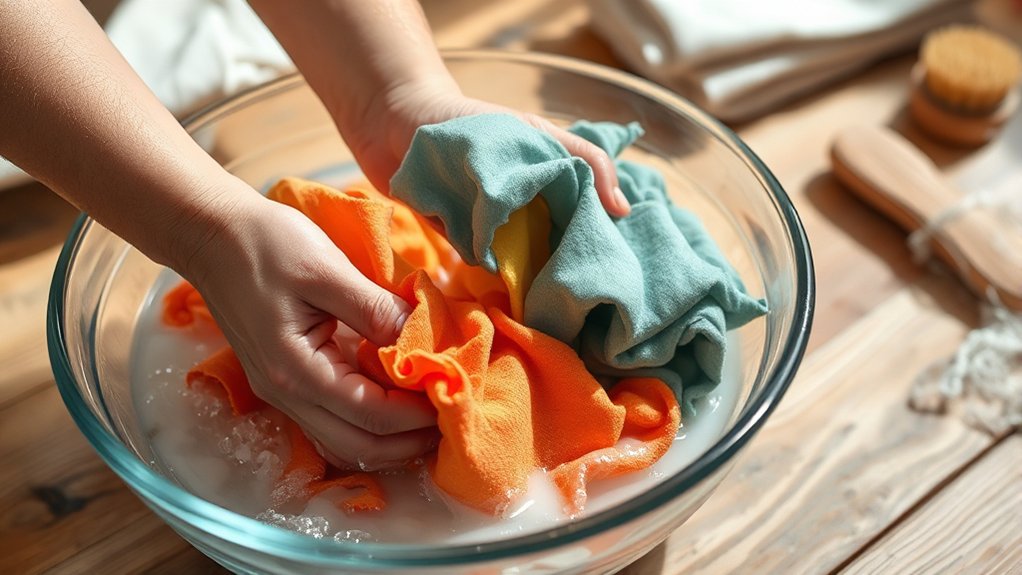
Once you’ve chosen the right wash method, wash the fabric before you cut it. This step gives you real prewash benefits: it removes shrinkage risk, clears away sizing or residue, and shows you how the cloth behaves after laundering. You’ll also spot color bleed or texture changes before you invest time in sewing.
Handle different fabric types with care. Cotton, linen, and many blends usually need a full prewash, while wool, silk, and delicate synthetics may need gentler treatment or special handling. If you’re working with a print, test a small corner first so you don’t ruin the whole piece.
Measure your yardage before washing, then wash the entire length you plan to use. That way, you keep the grain consistent and avoid surprises later. After washing, let the fabric rest so the fibers relax. When you cut, you’ll get more accurate pieces and a better-fitting finished garment overall.
Dry and Press Without Stretching
Hang the fabric or lay it flat to dry, depending on the fiber and weave, so it keeps its shape without extra stretching. Smooth it gently with your hands, but don’t tug or clip it under tension.
If you use a rack, support the full width so the weight doesn’t pull on the grain. For knits, reshape the edges while they’re still damp; for wovens, straighten seams and hems before they dry fully.
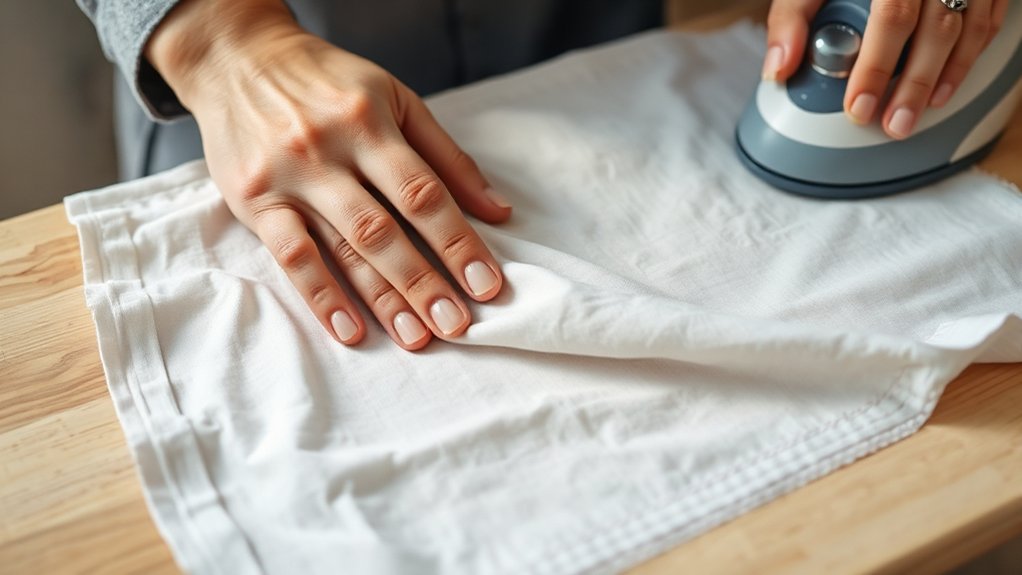
When the fabric feels just barely damp, press it from the wrong side with the right heat setting for the fiber. Use a pressing cloth if the surface is delicate, and lift the iron instead of sliding it to avoid distortion. These pre wash techniques protect fabric care results by keeping the cloth stable, flat, and ready for accurate cutting and sewing.
Check for Shrinkage and Color Change
Now that the fabric is dry and pressed, compare it with its original measurements to see if it shrank. Measure length, width, and key pattern repeats, then note any difference on your fabric record.
If the fabric lost size, adjust your layout and pattern pieces now so your finished project fits as planned. Next, inspect the surface in bright light for fading, bleeding, or a duller tone.
If the fabric shrank, adjust your layout and pattern pieces before cutting to keep your project on track.
A quick colorfastness evaluation helps you spot dyes that didn’t hold up during washing. Rub a white cloth on dark or saturated areas to check for transfer, and compare both sides if the fabric has a right and wrong face.
If you see unexpected changes, treat the material carefully and rethink how you’ll use it. Good shrinkage testing and colorfastness evaluation now can save you from surprises later and help you sew with confidence.
Prepare the Washed Fabric for Cutting
Trim away loose threads and smooth the fabric before you cut. Let it rest flat, then press it with the right heat setting for the fabric types you’re using. This step locks in the pre-wash benefits and helps you see the true shape of the cloth.
Check edges, grainlines, and any remaining wrinkles so your cutting techniques stay accurate.
- Fold the fabric on grain.
- Match selvages before measuring.
- Use weights or pins to hold layers.
- Recheck shrinkage marks and pattern placement.
- Store each piece neatly until you’re ready.
Good fabric care now saves time later and improves your finished garment. If the fabric still feels damp, wait longer because moisture can distort your cuts.
When you prepare carefully, your pattern pieces lay better, your seams align more easily, and your sewing starts with a cleaner, more professional result.
Frequently Asked Questions
Can I Wash Fabric With Zippers or Buttons Attached?
Yes, you can wash fabric with zippers or buttons attached, but you should protect them first. Zip zippers closed, button everything up, and turn the fabric inside out to reduce snagging. Washing this way helps preserve zipper care and supports pre washing benefits by preventing damage and shrinkage before sewing.
If the hardware looks delicate, place the item in a mesh bag or remove it before laundering.
Should I Pre-Treat Stains Before Washing Sewing Fabric?
Yes, you should pre-treat stains before you wash sewing fabric because a set-in mark can outstay any quick wash. You’ll save time and improve results by using stain removal techniques suited to the stain and fabric types you’re handling.
Test first on a hidden spot, then treat the stain gently before laundering. You’ll protect the fabric, reduce discoloration, and give your finished project a cleaner, more professional look.
How Do I Wash Fabric With Delicate Trims or Embellishments?
You should protect delicate trims by hand-washing the fabric in cool water with a mild detergent. Turn it inside out, avoid rubbing embellishments, and gently swish it instead.
If the trim feels fragile, place the fabric in a mesh laundry bag for extra protection. Rinse thoroughly, then press out water without wringing.
Your fabric care and washing techniques should always prioritize low agitation and air drying to prevent damage.
Can I Use Fabric Softener Before Sewing?
Yes, you can use fabric softener before sewing, but there’s a catch. You should skip it if you want crisp seams, strong interfacing, or better paint and dye adhesion.
Some fabric softener types leave a coating that can affect stitching and finish. If you do use it, choose a gentle formula and adjust your washing machine settings to a delicate cycle.
Test a swatch first so you don’t ruin your project.
Is It Safe to Wash Fabric Scraps Together?
Yes, you can wash fabric scraps together if they’re similar in color, fiber, and care needs. You’ll protect them by grouping like fabrics and using gentle washing techniques.
Check for fraying, dye bleed, or shrinkage first, since mixed scraps can react differently. For better fabric care, place small pieces in a mesh bag and avoid overloading the washer.
If you’re unsure, test one scrap before washing the rest.
Conclusion
Before you cut into your project, you’ve got to wash your fabric the right way. If you skip this step, your finished piece can shrink, twist, or bleed after sewing.
So choose the best wash method, dry it carefully, and press it without stretching. Then check for shrinkage and color change before you start cutting.
You’ll save time, avoid frustration, and make sure your sewing project looks great and lasts longer by washing fabric before sewing.