

Thread Size Chart: How to Read
If you’ve ever struggled to identify the right thread size for your project, you’re not alone. Many people find reading thread size charts confusing and frustrating, especially when different measurement systems and thread types come into play.
But don’t worry—understanding these charts can save you time and prevent costly mistakes.
To read a thread size chart, start with the fastener’s major diameter, then match the pitch or TPI and confirm the thread type. Metric charts list diameter in millimeters and pitch in millimeters, while imperial charts use inches and TPI.
Clean the threads, measure with calipers or a thread gauge, and compare the values to the chart. Coarse, fine, and special threads each serve different jobs, and the details below can clear up the rest.
Key Takeaways
- Read thread size as diameter, pitch, and length; metric uses millimeters, imperial uses inches and TPI.
- Measure major diameter across the widest threads with calipers, keeping the tool square for accuracy.
- Determine pitch with a thread gauge or by counting threads per inch for imperial fasteners.
- Match the fastener to the correct metric or imperial chart, since small differences can cause fit problems.
- Clean the threads and take repeated measurements to confirm the size before choosing hardware.
What Thread Size Chart Numbers Mean

Thread size chart numbers tell you the diameter, pitch, and sometimes the thread count, so you can match the right fastener to the right job. When you scan a chart, you’re really reading thread terminology that compresses several measurements into one line.
A metric entry may list 6 mm by 1.0, while an imperial entry may show 1/4-20; each format tells you how the threads relate to the fastener’s fit and spacing. You can use the chart to compare standards, avoid mismatched hardware, and confirm whether a bolt or nut belongs in your application.
If you work across systems, size conversion helps you translate between metric and inch-based labels without guessing. Read the numbers carefully, because a small difference can change compatibility, holding strength, and installation ease.
Once you understand the pattern, the chart becomes a quick reference instead of a code.
How to Read Thread Diameter

To read thread diameter, you start by measuring the major diameter—that’s the widest point across the threads. Once you have that measurement, you can compare it to the thread diameter standards on a chart. After matching the diameter, you’ll be able to confidently identify the correct thread size.
Measuring Major Diameter
Major diameter is the widest point of a thread, and it’s the number you’ll use to read thread size correctly. To measure it, choose from major diameter tools like calipers or a thread micrometer, then place the jaws across the crests without squeezing too hard.
Keep the tool square to the fastener so you don’t tilt the reading. Use simple measurement techniques: clean the threads first, take more than one reading, and compare the results at different spots along the shank.
If the thread looks worn or damaged, measure an undamaged section instead. Record the largest consistent value you get, since that tells you the thread’s outside size. With that number, you can match the thread size chart more confidently and avoid guesswork.
Thread Diameter Standards
Once you’ve measured the major diameter, you can use standard thread diameter rules to read the size more accurately. You’ll compare your diameter measurement against thread standards that define common diameter types for metric and imperial fasteners.
These thread classifications help you match the nominal size, pitch, and fit without guessing. In practice, you should check industry specifications because the same outside width can appear in different thread applications with slight size variations.
That’s why you can’t rely on eye judgment alone. Accurate reading improves fastener compatibility and helps you choose the right bolt, screw, or nut for the job.
When you understand diameter types and standard tolerances, you can identify thread sizes quickly and avoid mismatched parts in repair, manufacturing, or assembly work.
How to Find Thread Pitch and TPI
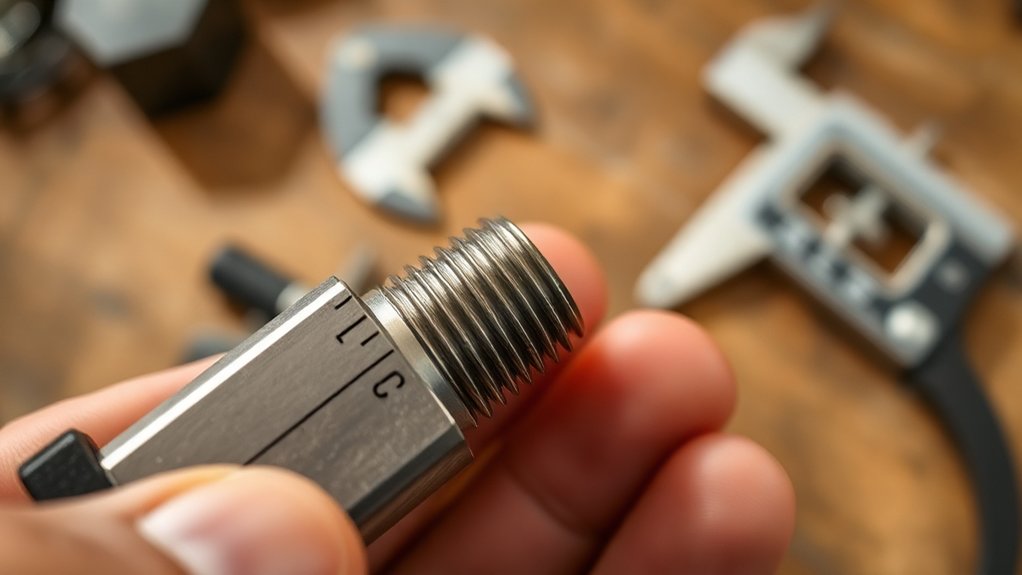
To find the thread pitch, you can simply measure the distance from one thread crest to the next using a ruler or a thread gauge. It’s pretty straightforward. Now, if you’re dealing with inch-based threads, another way is to count how many threads fit into one inch—that gives you the TPI, or threads per inch. Knowing these two measurements makes it much easier to identify the right fastener size quickly.
Measuring Thread Pitch
How do you figure out thread pitch and TPI? First, clean the fastener so you can get an accurate pitch measurement. Then match it against thread tools, like a pitch gauge or thread checker, until the teeth fit snugly.
That fit tells you the distance between thread peaks. If you’re reading metric threads, note the spacing in millimeters. If you’re reading inch threads, note the threads per inch pattern from the same tool.
Use the table below to compare common readings:
| Pitch | Meaning |
|---|---|
| 0.5 mm | Fine metric spacing |
| 0.8 mm | Common metric spacing |
| 1.0 mm | Coarser metric spacing |
| 1.25 mm | Medium metric spacing |
Double-check the match on several spots, since wear can change results.
Counting Threads Per Inch
If you’re working with inch fasteners, you can find thread pitch by counting the number of threads in one inch, which gives you the TPI value. Start by placing the fastener against a ruler or using dedicated thread measurement tools for better accuracy.
Count each crest within a full one-inch span, and make sure you don’t include partial threads at the ends. If the threads are fine, use careful thread counting techniques, such as marking your starting point and checking the same section twice.
Once you get the total, compare it with your thread size chart to identify the correct size. For mixed or worn threads, verify your count on a second section to avoid errors. Accurate TPI helps you match nuts, bolts, and fittings confidently every time.
Metric vs. Imperial Thread Charts
Metric and imperial thread charts measure the same thing, but they do it in different ways, so you need to know which system you’re reading before you compare sizes. Metric standards list diameter in millimeters and pitch as the distance between threads, while imperial standards usually show diameter in inches and threads per inch.
Metric and imperial thread charts measure the same thing, but list sizes in different ways.
When you check thread compatibility, you’ll match the chart to the bolt, nut, or tapped hole you have. Use measurement tools like calipers or a thread gauge to confirm the size instead of guessing.
You’ll also want to note the thread applications and fastener types because hardware from different regions can look similar but won’t always fit. If you mix systems, the parts may start to engage and still fail under load.
Once you identify the system correctly, you can read the rest of the chart with confidence and choose the right replacement fastener for the job.
Coarse, Fine, and Special Thread Series
You’ll see coarse threads used when you need fast assembly and a solid grip in everyday applications. On the other hand, fine threads are better when you want tighter adjustment, stronger clamping, or more precise control. Then, there are special thread types that cover unique jobs—things that standard coarse and fine series just can’t handle.
Coarse Thread Basics
Coarse threads are the most common thread series in many thread size charts because they strike a practical balance between strength, speed, and ease of assembly. You’ll spot coarse threads in many thread applications where quick engagement and reliable holding matter more than tight pitch control.
They’re easier to start, less likely to cross-thread, and tolerate dirt or slight wear better than finer options.
| Feature | Coarse Thread Benefit | What You Notice |
|---|---|---|
| Pitch | Wider spacing | Faster assembly |
| Strength | Broad engagement | Solid holding |
| Tolerance | Better in rough conditions | Fewer fitting issues |
| Maintenance | Simplified service | Easier removal |
| Use | Common hardware | Broad compatibility |
Fine Thread Uses
Fine threads are the next option in a thread size chart when you need tighter adjustment, more holding power in thin materials, or better resistance to vibration loosening. You’ll often use them in fine thread applications like automotive parts, instruments, and precision assemblies.
Because the pitch is smaller, you get finer control during tightening, which is one of the main fine thread advantages. You can also gain more engaged threads in a shallow tap depth, so the fastener may hold better in softer or thinner fine thread materials.
In fine thread comparisons, you’ll usually see better preload control than with coarse threads, but installation takes more care and time. Choose fine threads when accuracy matters and the joint needs secure, repeatable clamping.
Special Thread Types
When reading a thread size chart, you’ll usually see coarse, fine, and special thread series listed so you can match the fastener to the job. Coarse threads give you quick assembly and better resistance to dirt, while fine threads help you achieve tighter clamping and more precise adjustment.
Special thread series cover unique needs that standard charts don’t address. You’ll use them for special thread applications in aerospace, automotive, or machinery where load, vibration, or material demands call for a different pitch or profile.
When you run into uncommon thread types, check the designation carefully, because a slight difference can affect fit, strength, and tool selection. Reading this part of the chart correctly helps you choose the right fastener the first time and avoid costly mismatches.
Match the Chart to Bolt Measurements
Start by matching the bolt’s major diameter, thread pitch, and length to the chart so you can identify the correct size quickly. Use measurement tools, like calipers or a thread gauge, to capture each value accurately, then compare them against the chart’s columns.
Pay attention to bolt types, since hex bolts, carriage bolts, and machine bolts can share similar diameters but differ in thread form or grip length. If you’re unsure, measure across the widest threaded point for diameter and count threads over a set distance for pitch.
Then check the length from under the head to the tip unless the chart notes otherwise. You’ll spot the right row faster when you keep the bolt clean and lay it flat.
Cross-reference the units, too, because metric and imperial charts don’t mix. With careful matching, you can identify the exact bolt without wasting time or second-guessing the fit.
Read Screw Sizes Without Guesswork
Because screw sizes can look confusing at first glance, you’ll want to read them as a set of measurements, not a guess. Start with the diameter, then check the thread pitch or threads per inch, and finish with the length. You can use screw identification techniques like comparing the screw against a ruler, thread gauge, or reference chart to confirm each value.
If the head is included in the measurement standard, verify that detail before you record the size.
You should also note the thread form and drive type when the chart calls for them, because those details help you separate similar fasteners. When you read the size this way, you reduce thread compatibility issues and avoid choosing a screw that fits poorly or damages the mating part.
Trust the numbers on the chart, not the appearance of the screw, and you’ll make accurate matches faster.
Common Thread Size Chart Mistakes
It’s easy to misread a thread size chart if you rush, and the most common mistake is mixing up diameter, pitch, and length. You might grab the right number but attach it to the wrong measurement, which leads to a bad fit.
Another frequent error is assuming all threads use the same units; metric and imperial charts look similar, but they don’t match. You can also overlook right-hand versus left-hand threads, especially when the part looks ordinary.
Don’t trust worn labels or partial markings, either, because they often hide the real size. For solid thread identification tips, compare the chart entry with the fastener’s actual profile and note every symbol carefully.
If you skip one detail, you’ll repeat the same common errors and waste time ordering the wrong part. Stay methodical, read each column once, then confirm the size before you move on.
How to Use a Thread Gauge
A thread gauge gives you a quick way to check a fastener’s pitch and profile, so you can match it to the right size chart without guessing. First, clean the threads so debris doesn’t skew the fit. Then choose the correct blade or leaf from the thread gauge types set and compare it to the fastener’s grooves. When the teeth mesh cleanly, without daylight or rocking, you’ve likely found the right pitch. If the gauge feels off, try the next size until you get a snug match.
You can also use thread measurement techniques to confirm the reading against a chart. Hold the gauge flat, line it up with the threads, and note the pitch value marked on the tool. For damaged or worn fasteners, repeat the check in more than one spot. That simple habit helps you read the chart accurately and avoid bad measurements.
Choose the Right Fastener Every Time
Once you’ve matched the pitch with a thread gauge, the next step is picking a fastener that fits the job and the chart. You should check diameter, length, head style, and material before you buy.
A bolt that looks close won’t work if the threads don’t align or the load rating is too low. Use the chart to confirm thread compatibility, then compare the fastener’s grade or class with your application.
For outdoor, wet, or corrosive settings, choose a coated or stainless option. For structural work, match strength to the stress you expect. Good fastener selection also means thinking about the nut, tapped hole, and wrench access, not just the screw itself.
When you stay consistent with the chart, you reduce stripping, loosening, and wasted time. If you’re unsure, bring the old part or measure it again before you commit.
Frequently Asked Questions
How Do I Identify a Damaged Thread Size?
You identify a damaged thread size by checking for flattened, chipped, or crossed threads during thread inspection. You’ll also notice rust, burrs, missing material, or a bolt that won’t start smoothly.
Measure the thread with a gauge or caliper if needed, then compare it to the correct size. If the damage is minor, thread repair may restore fit; if it’s severe, you’ll need replacement.
Can Thread Charts Help With Left-Hand Threads?
Yes, you can use thread charts for left hand threads. Think of them like a map that still points north even when you’re traveling backward: the chart shows size, pitch, and fit, while you check the thread direction separately.
You’ll spot left hand threads by their marking or reverse turn. This helps you confirm thread compatibility and avoid forcing the wrong fastener into place, which can damage both parts.
What Tools Measure Thread Angle Accurately?
You can measure thread angle accurately with thread gauges, optical comparators, and calibrated thread pitch microscopes. You’ll get the best results when you pair these with proper measurement techniques, like aligning the part carefully and checking multiple points on the thread.
If you need quick field checks, gauge sets help. But for precision work, use a microscope or comparator to verify the angle and profile against standards.
Are Thread Sizes Different for Pipes and Bolts?
Yes, you’ll find pipe sizes and bolt sizes aren’t the same, and that difference can feel like chasing Alice’s rabbit. You use pipe thread types to seal fluids, while bolt thread standards focus on fastening parts.
Don’t mix them up: a 1/2-inch pipe thread won’t match a 1/2-inch bolt thread. Check the standard, pitch, and diameter before you buy, or you’ll waste time, money, and maybe your patience.
How Do I Convert Thread Sizes Between Systems?
You convert thread sizes by matching the thread conversion standard for each system, then comparing diameter, pitch, and thread form. In the metric system, you’ll use millimeters for diameter and pitch, while inch-based systems use TPI.
Check an equivalency chart, confirm whether it’s a bolt or pipe thread, and don’t assume direct swaps. You should always verify the fit before buying parts because small differences can cause leaks or stripped threads.
Conclusion
You can read any thread size chart with confidence when you check the diameter, pitch, and system first. Don’t guess. Gauge, compare, and confirm before you buy or install a fastener.
When you match the measurements and mind the metric or imperial markings, you’ll make faster, safer, smarter choices. Keep it simple: measure, match, and mount.
With a little care and close attention, you’ll choose the right screw every time, every single time. That’s the key to mastering any thread size chart.